Before you start
You need two things:
- A login to AFDO’s Salesforce at afdo.my.salesforce.com.
- Permission to delete accounts. Most staff logins with Standard User or System Administrator access already have it. If the merge fails with an “insufficient privileges” error, contact the Salesforce admin.
This guide covers Accounts only. Contacts merge through a different process.
Merging combines duplicate accounts into one record and permanently deletes the others. This can’t be undone.
First time merging, or not sure the records are true duplicates? Expand the sections below. Otherwise, skip to the instructions.
A merge combines up to 3 accounts into one master record. Contacts, cases, affiliations, and activity history from the other records move to the master. The other records are then deleted.
Merge, don’t delete. If you try to delete a duplicate and get an error saying it’s associated with a case or another record, merge it into the correct account instead. Renaming the duplicate or editing the linked record won’t clear the error, because Salesforce tracks links by record ID, not by name.
Why Salesforce Classic? In Lightning, the duplicates box on an account page says “We found no potential duplicates.” That message appears because no duplicate rules are active in our org, not because the account has no duplicates. Classic’s Merge Accounts tool lets you search for and merge any accounts by name.
[SCREENSHOT: Lightning duplicates box reading “No duplicate rules are activated”]
Warning: merging can’t be undone. Confirm the records are true duplicates before you start.
Similar names don’t make two accounts duplicates. For example, “Houston Health Department” and “Houston Health Department, Bureau of Consumer Health Services” could be one agency or a parent agency and its sub-unit. Open each account and check:
- Address, phone, and website. Do they match, or does one record leave them blank?
- Contacts. Do the people on each record work for the same organization?
- Parent Account. Is one record set as the parent of the other? If so, they are separate on purpose. Don’t merge them.
If you’re still unsure, ask before you merge.
How to merge the accounts
1
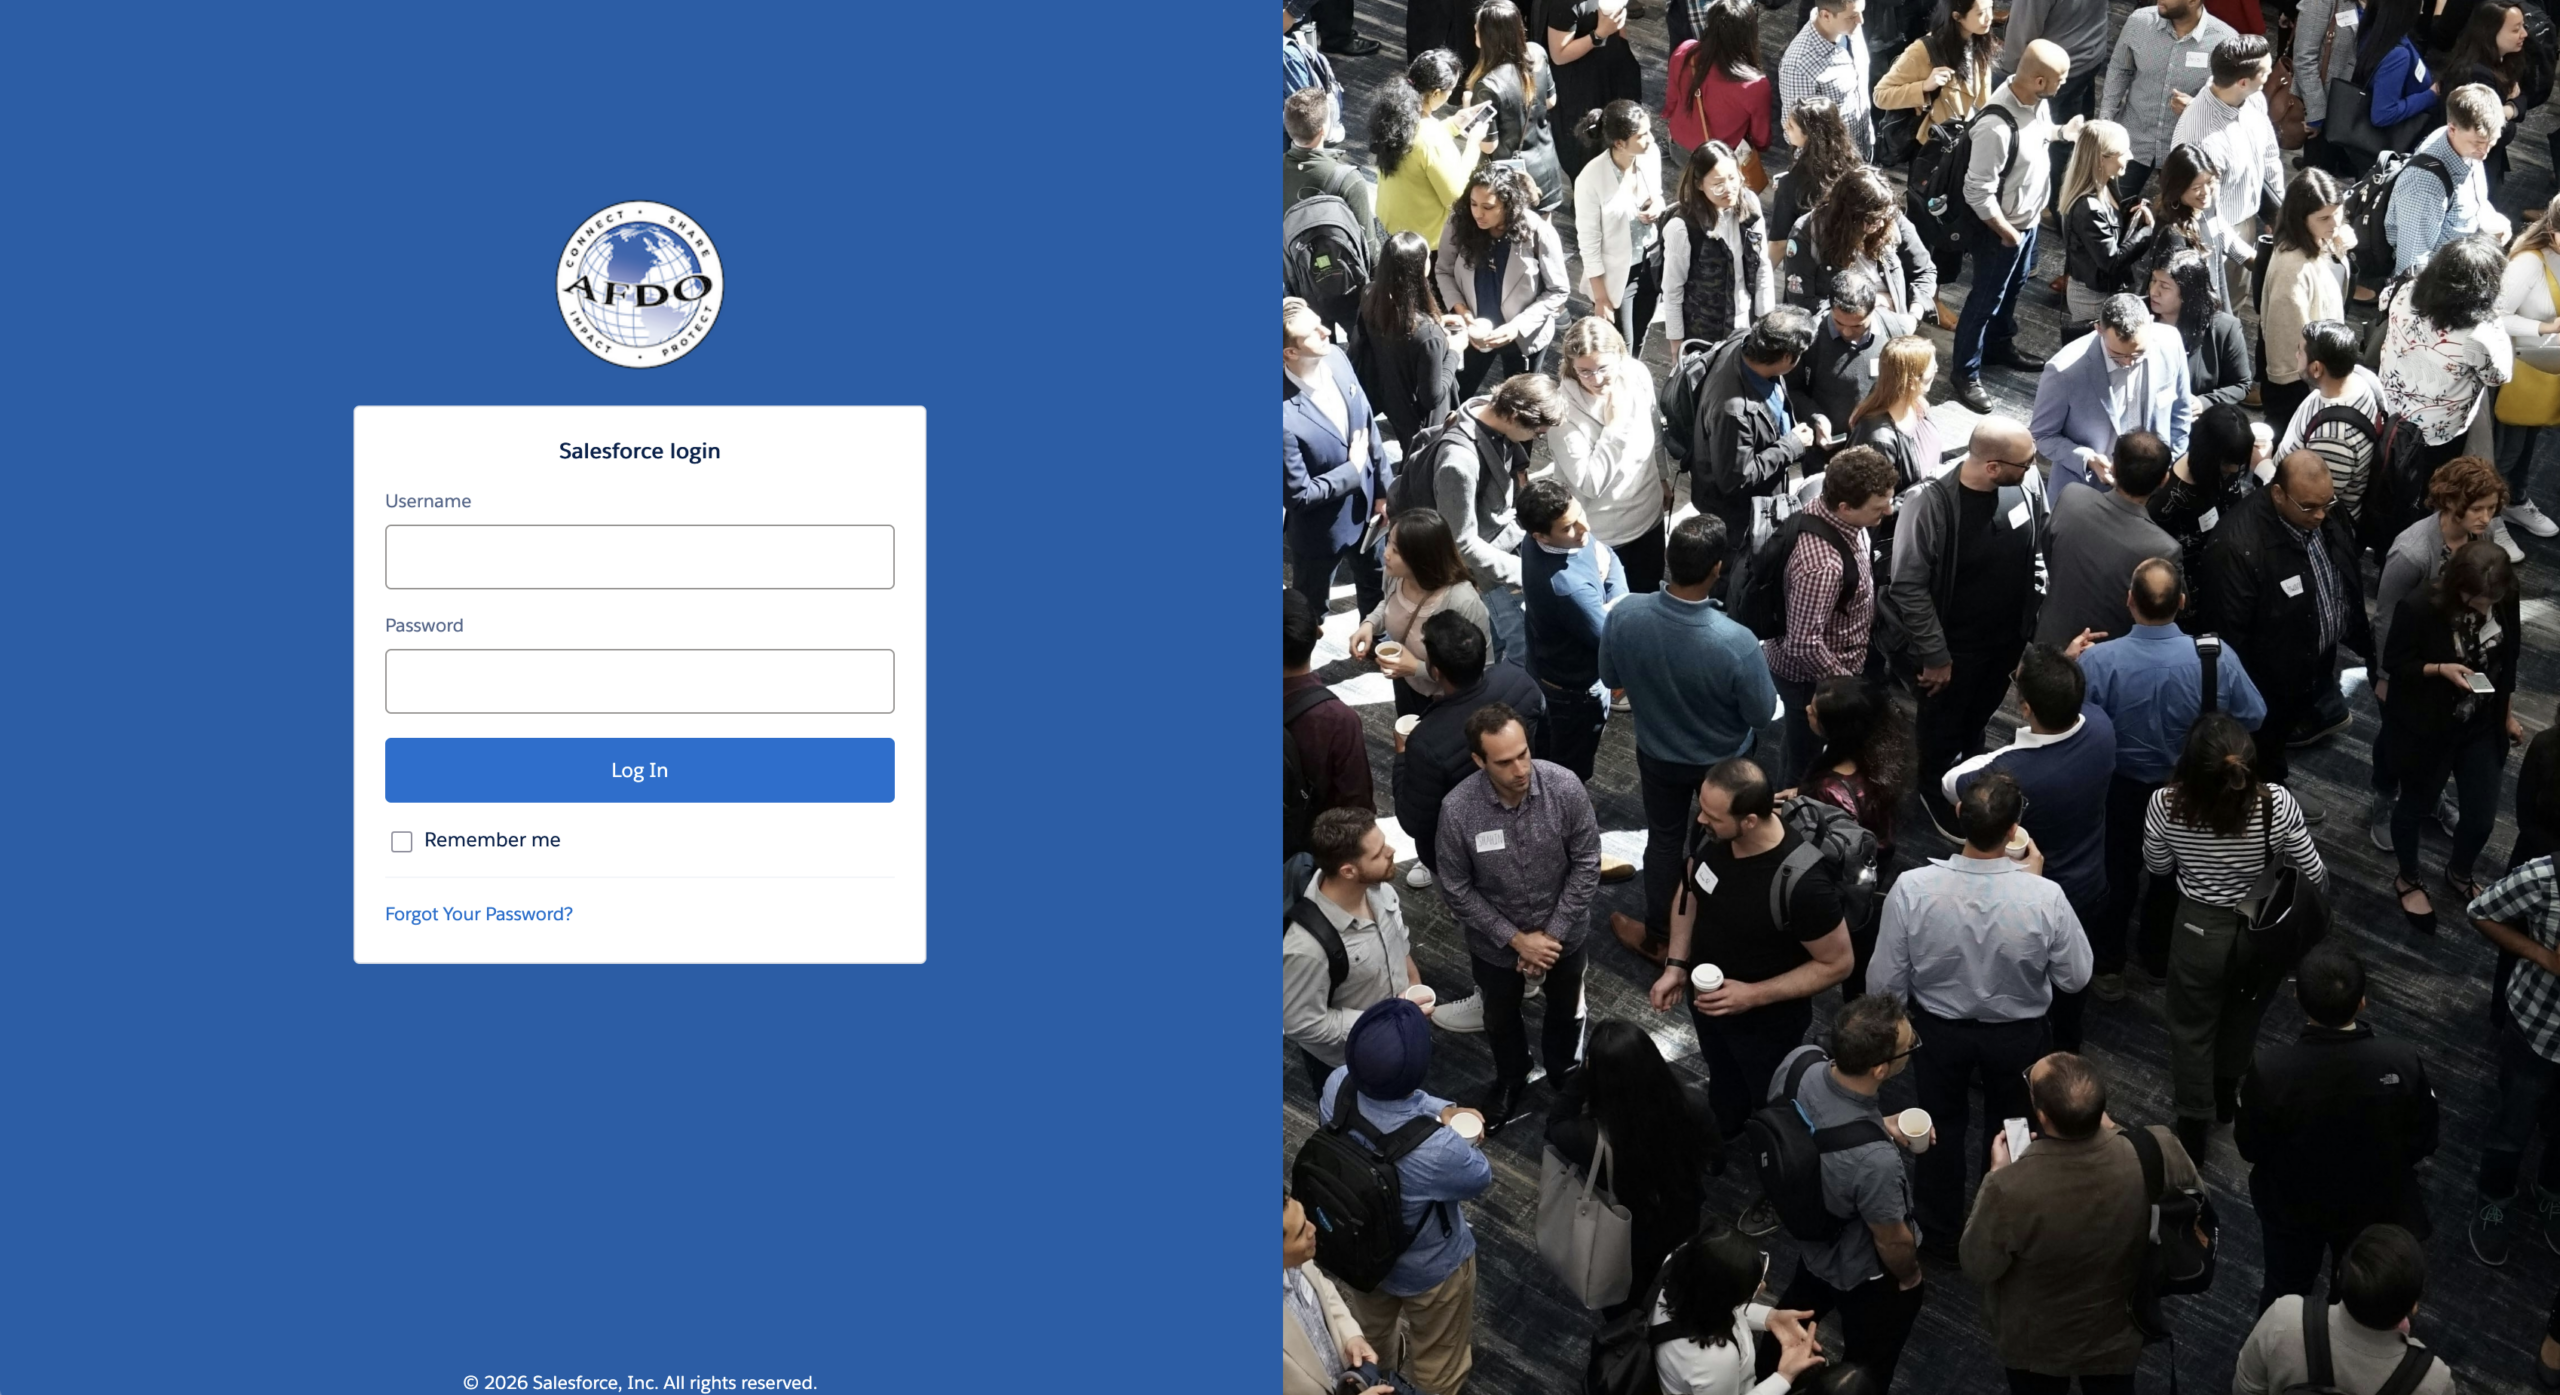
Login to AFDO’s Salesforce dashboard
- Navigate to https://afdo.my.salesforce.com/
- enter you email address in the username field
- enter your password, in the password field
- Click the LOG IN button
2
Switch to ‘Salesforce Classic’
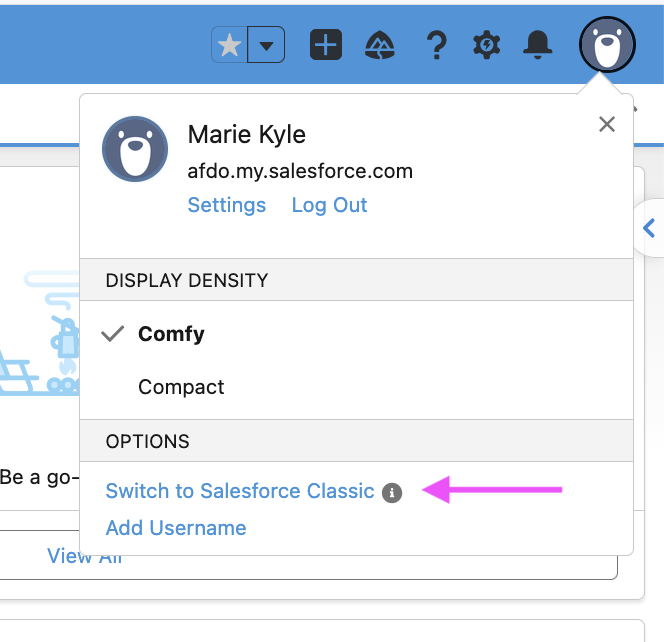
- In the upper right corner of your screen, click the AVATAR icon.
- From the dropdown, click the Switch to Salesforce Classic link.
3
Open Merge Accounts
Click the + icon at the end of the navigation bar:
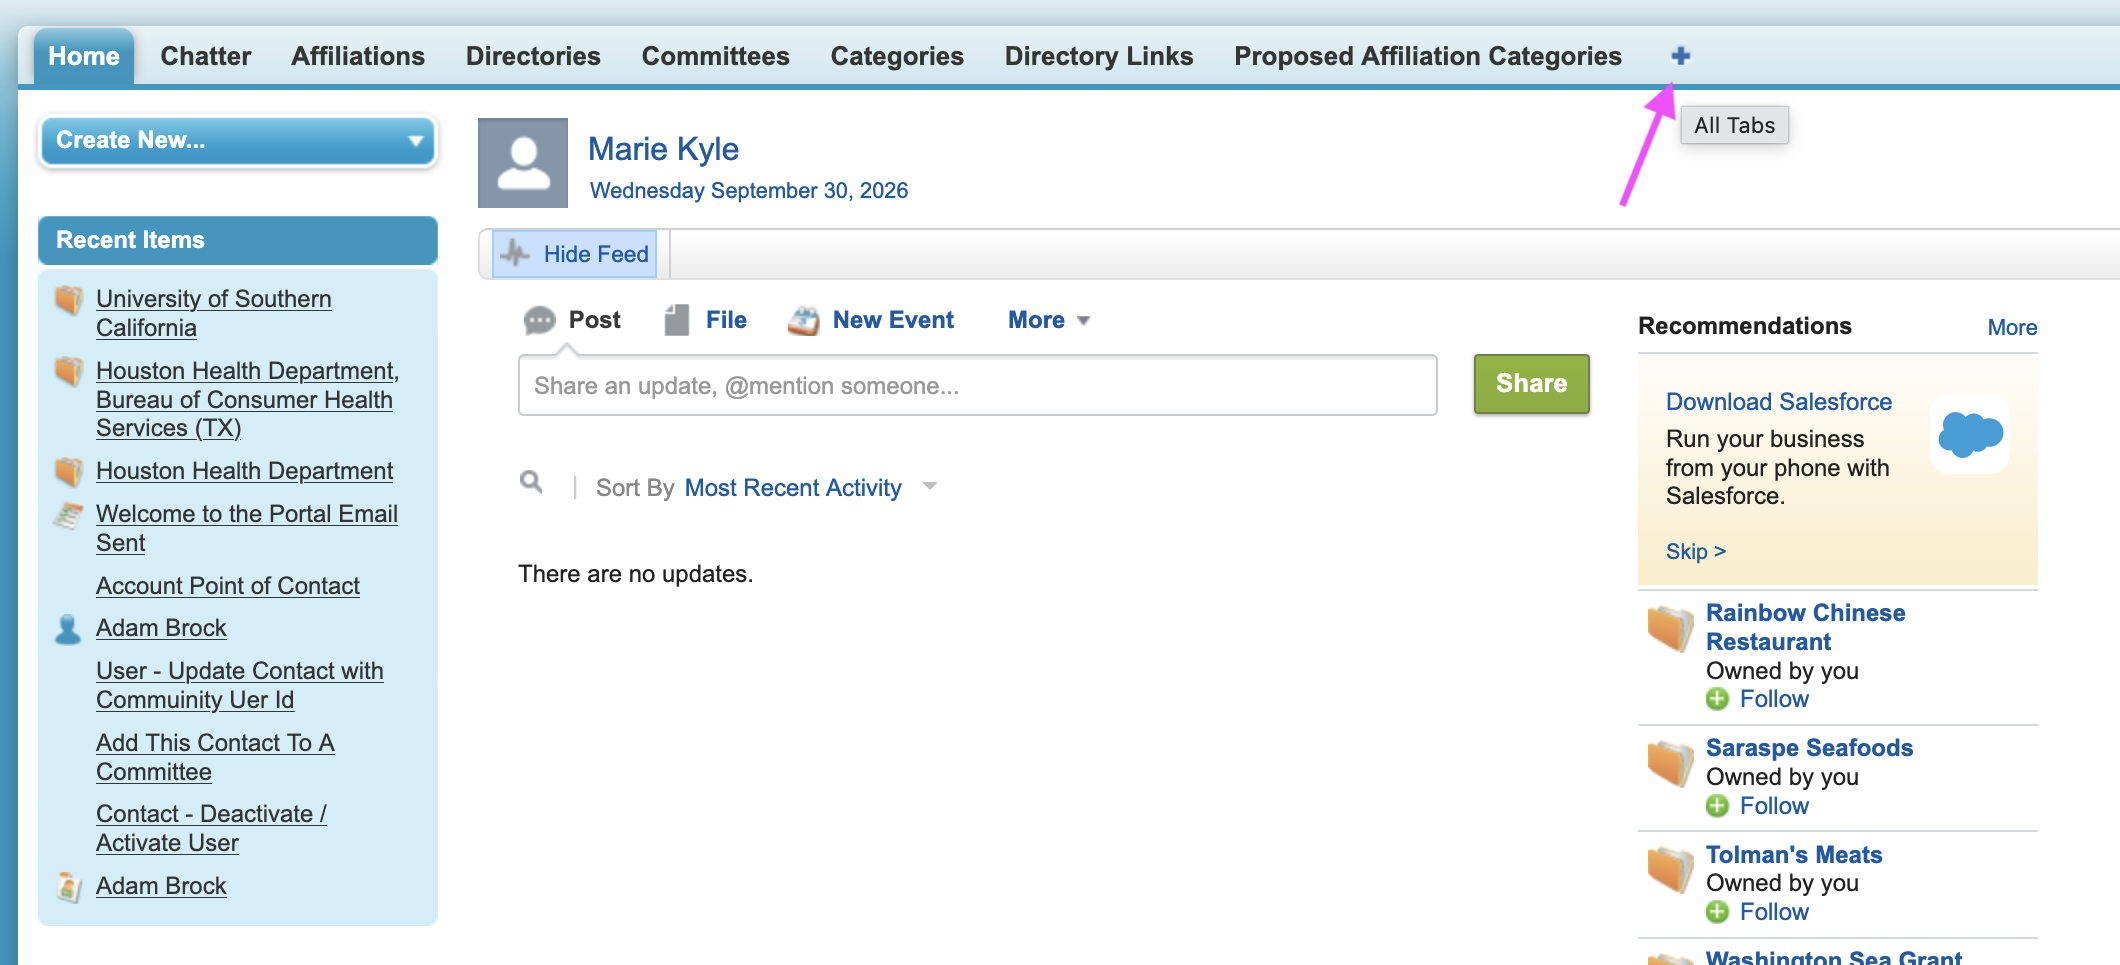
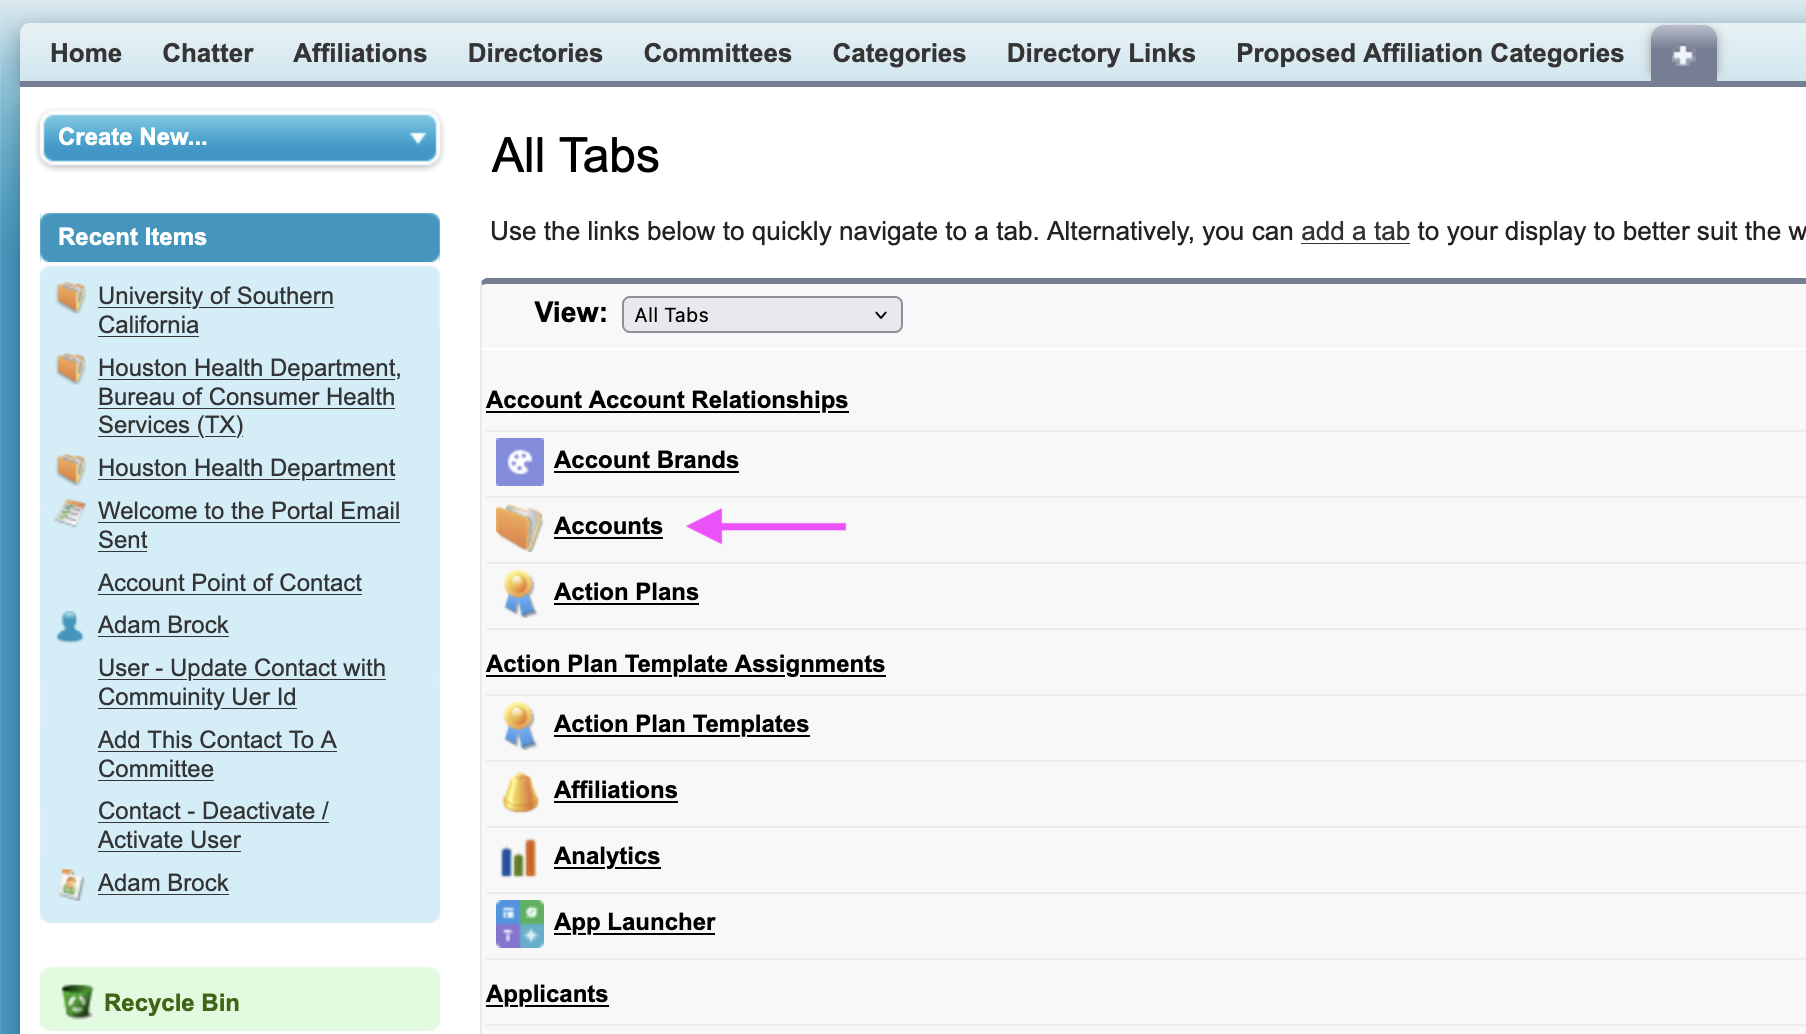
Then on you’ll be redirected to the ‘All Tabs’ screen. From there – select the Accounts link:
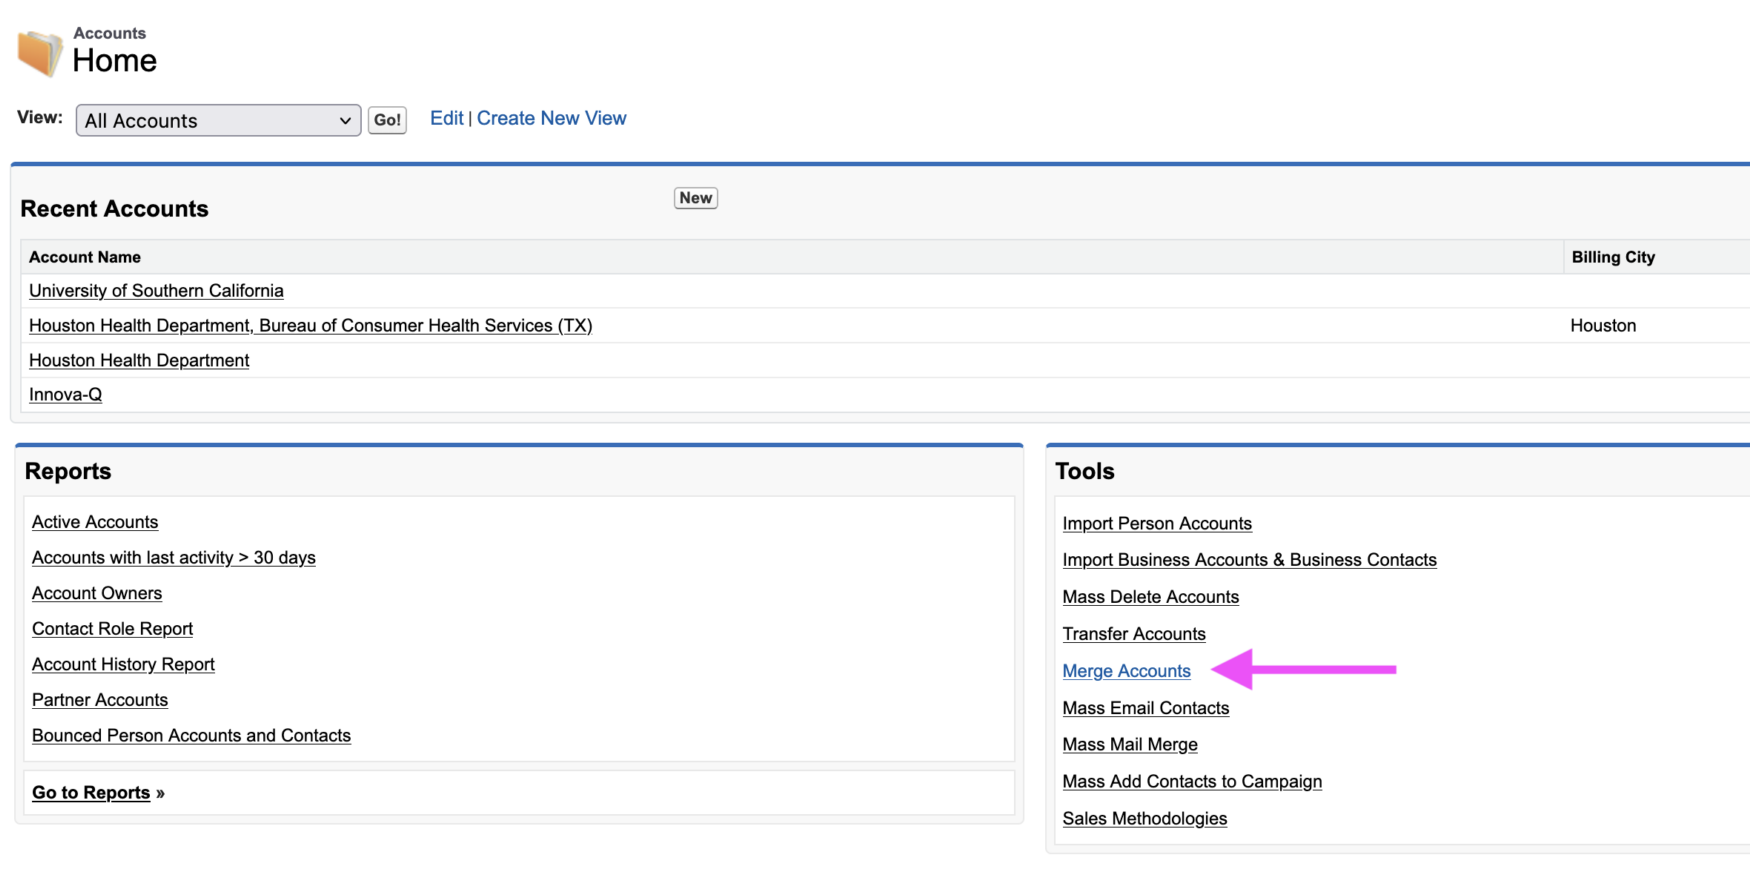
On the Accounts screen, under Tools, click the Merge Accounts link:
4
Find the records
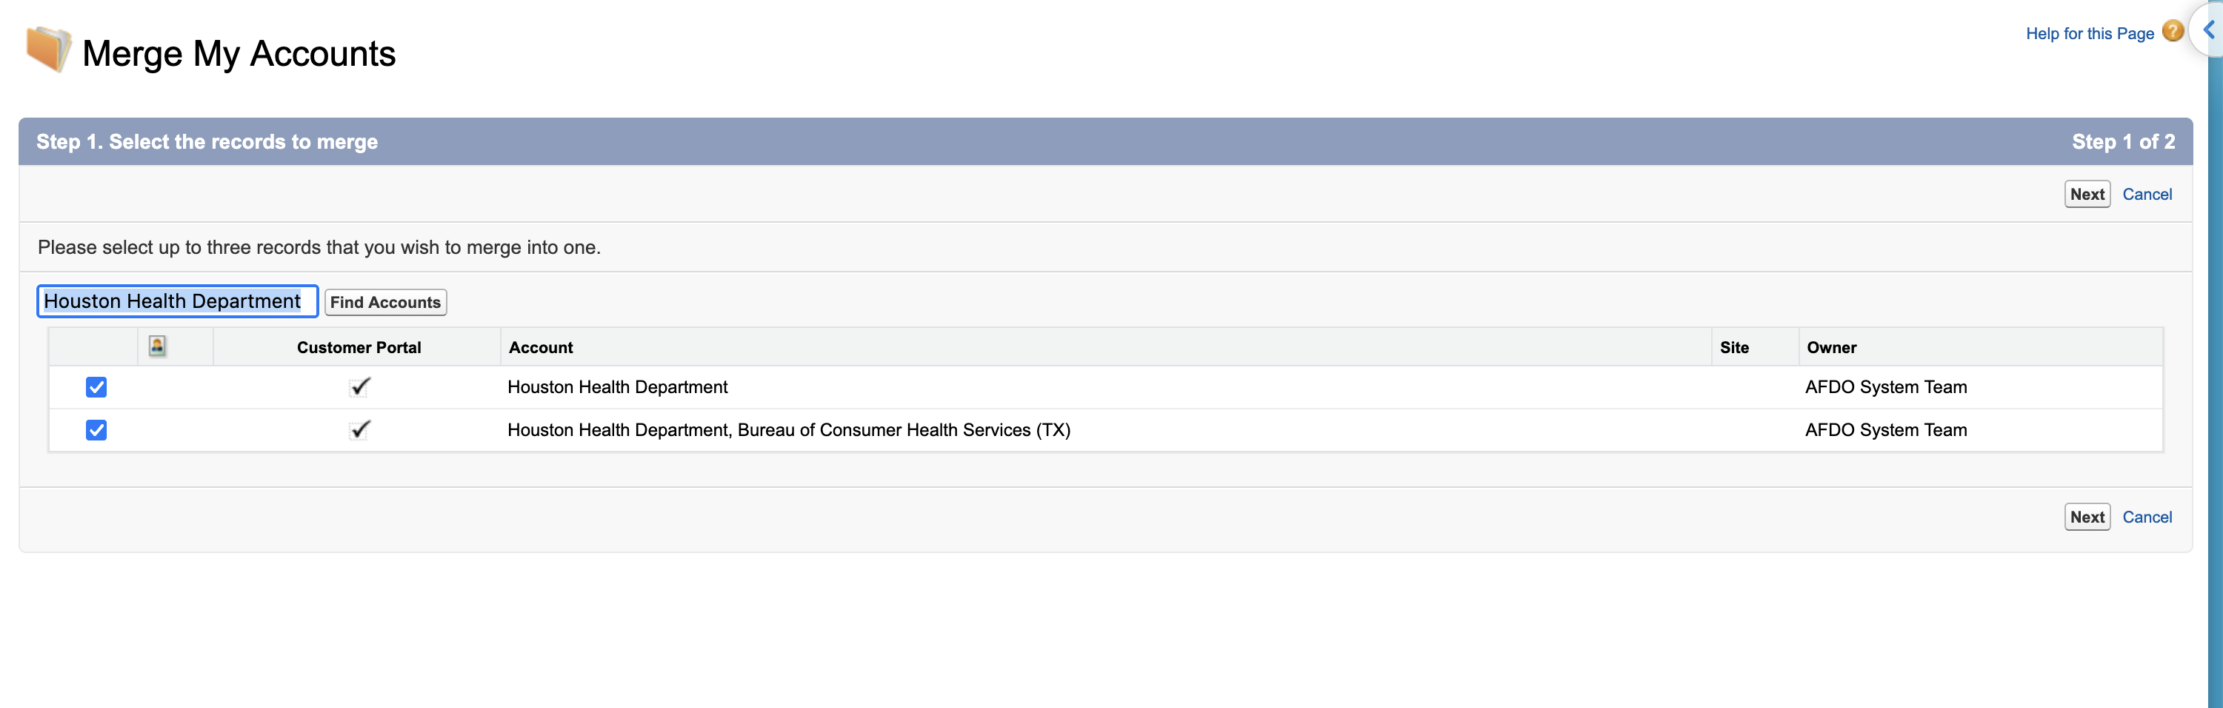
Enter part of the account name, such as “Houston Health,” and click Find Accounts. Shorter search terms catch more variations. Check the box next to each duplicate (up to 3), then click Next.
5
Choose the master record, and check every row
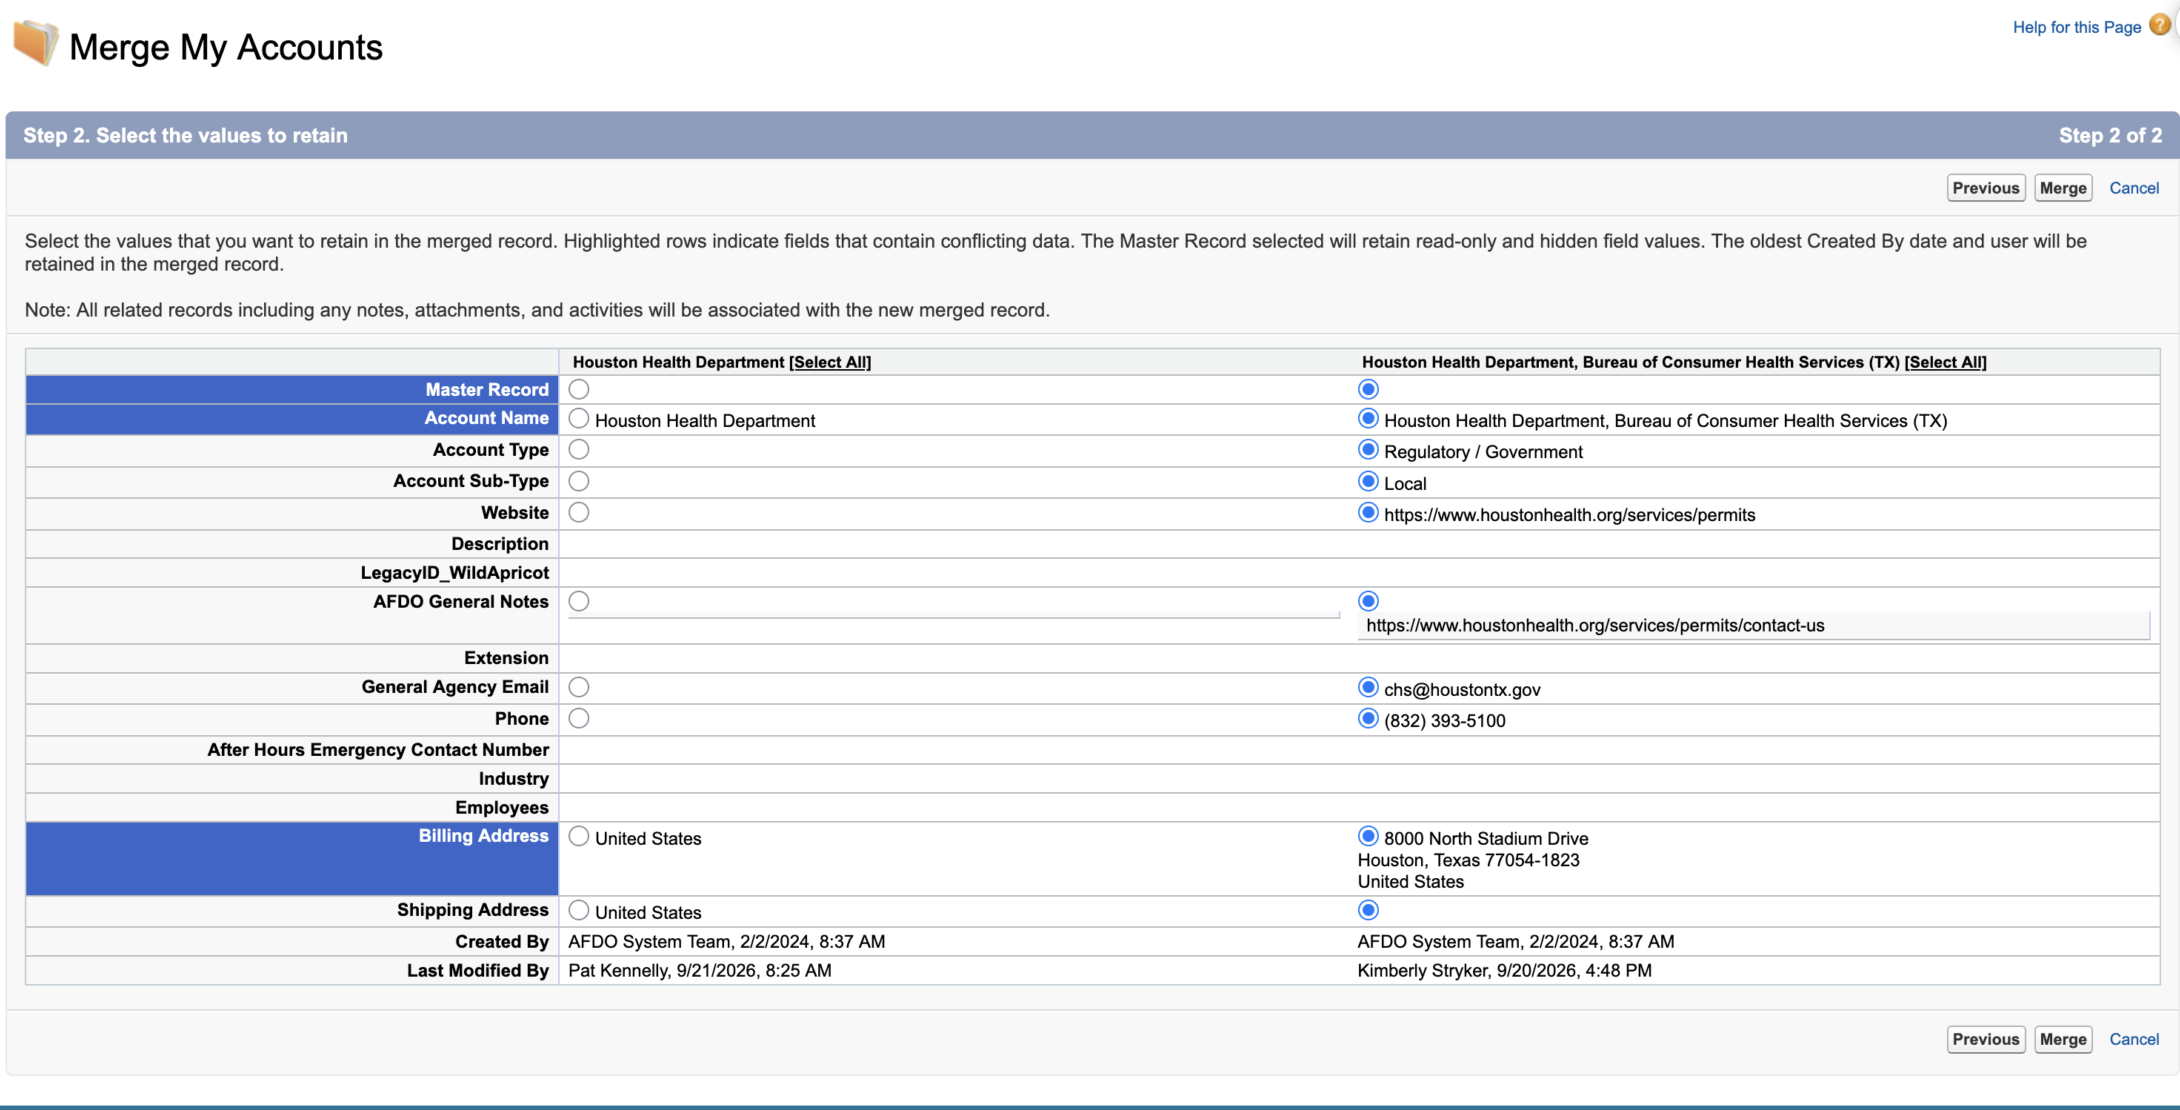
The accounts appear side by side. Select the most complete record as the master. It’s usually the one with more contacts, history, and filled-in fields. Click Select All above that column to start from its values.
For each field, select the correct value. Any value you don’t select is deleted.
Click the Merge button in the lower right corner of the screen:
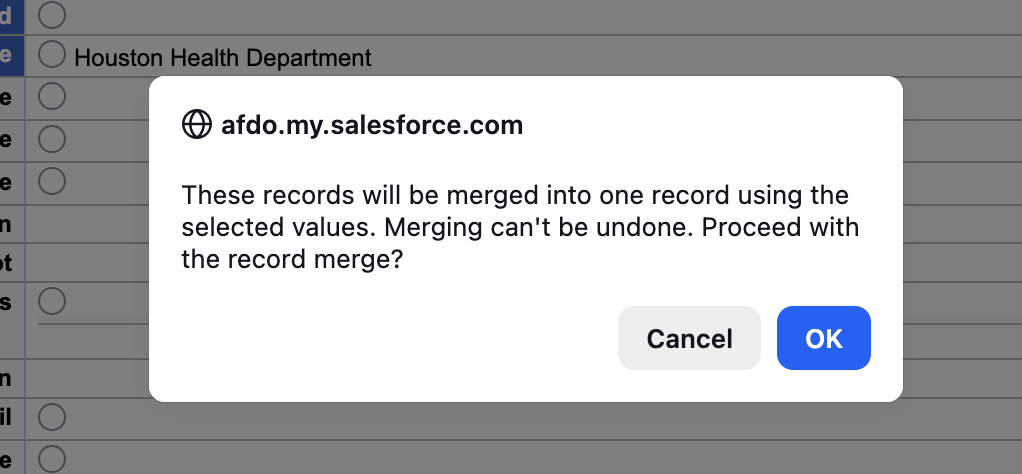
Then click OK in the confirmation pop-up:
After the merge
7
Verify the master record
Open it and check that:
- The contacts, affiliations, and activity history from all merged records are listed.
- Any cases came over. Our Account layout has no Cases list, so search the case number in the global search bar to confirm.
- Key fields such as address, phone, and email show the values you selected.
8
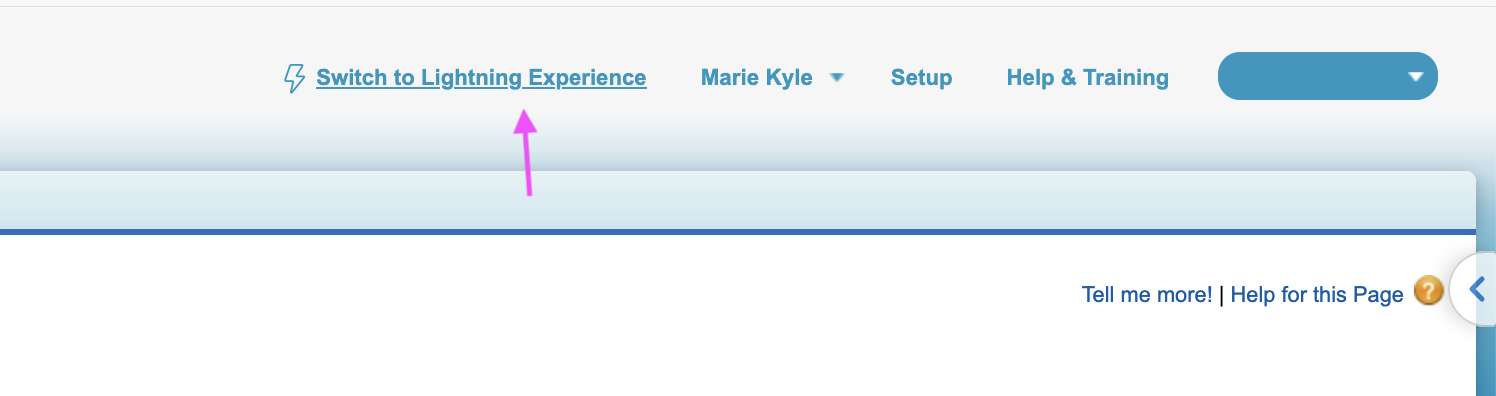
Switch back to ‘Salesforce Lightning’
At the top of the page, click Switch to Lightning Experience: